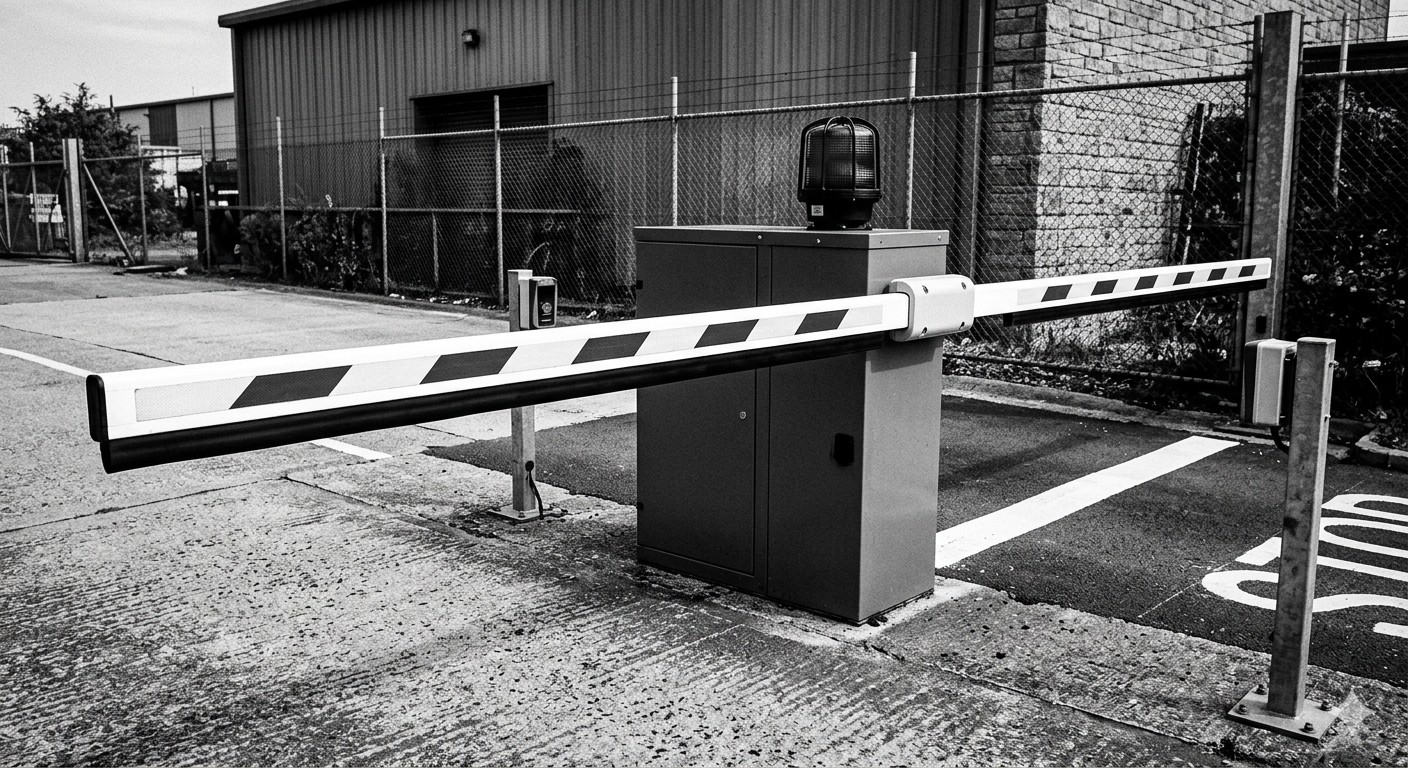
A barrier gate is a mechanical device that moves a heavy arm thousands of times per day, in all weather, year after year. Without a structured maintenance program, even the best equipment from manufacturers like CAME, FAAC, Magnetic Autocontrol, Nice/Hi-Speed, and Parking BOXX will degrade – slowly at first, then suddenly. Bearings wear. Seals dry out. Safety sensors drift out of alignment. And the failure always seems to happen during the morning rush or the busiest event of the year.
Preventive maintenance is not a cost center. It is the cheapest insurance policy available for keeping your parking operation running, your users safe, and your equipment warranty intact. This guide provides detailed maintenance schedules and procedures for every major barrier gate component.
Why Preventive Maintenance Matters
The math is straightforward. A typical commercial barrier gate cycles 500-2,000 times per day. That’s 180,000-730,000 cycles per year. Over a 10-year lifespan, the mechanism will complete 2-7 million open-close operations. No mechanical device survives that kind of use without regular attention.
Preventive maintenance delivers three measurable benefits:
- Reduced downtime. A gate that fails during peak hours causes traffic backups, lost revenue, and customer complaints. Scheduled maintenance identifies worn components before they fail.
- Extended equipment life. A well-maintained barrier gate can last 15-20 years. A neglected one may need major overhaul or replacement in 5-7 years.
- Safety compliance. UL 325 and ASTM F2200 require functional safety devices at all times. Monthly testing of these devices is a core maintenance task, not an optional add-on.
The International Parking and Mobility Institute (IPMI) consistently identifies preventive maintenance as a top operational priority in its facility management guidance.
Preventive Maintenance Schedule Overview
The following table summarizes the maintenance cadence for each component category. Detailed procedures follow in subsequent sections.
| Component | Weekly | Monthly | Quarterly | Annually |
|---|---|---|---|---|
| Visual inspection | X | |||
| Safety device testing | X | |||
| Arm condition and balance | X | |||
| Motor and drive mechanism | X | |||
| Electrical connections | X | |||
| Housing and weatherproofing | X | |||
| Hydraulic fluid (if applicable) | X | |||
| Full mechanical overhaul | X | |||
| Software/firmware update | X | |||
| Foundation and mounting | X |
Weekly Tasks
Weekly checks are quick visual inspections that any trained staff member can perform. They take 5-10 minutes per gate.
Visual Inspection Checklist
- Arm condition: Check for visible cracks, bending, or delamination. Ensure reflective tape and safety markings are intact and visible.
- Housing condition: Look for dents, scratches through the finish (rust entry points), water pooling at the base, or displaced covers.
- Surrounding area: Remove debris, trash, or vegetation encroaching on the gate. Check that bollards are intact and haven’t been struck.
- Warning signs and labels: Confirm all safety signs, “Do Not Enter” markings, and operational labels are present and legible.
- Operational spot check: Cycle the gate once and listen for unusual noises – grinding, squealing, clicking, or hesitation. These are early indicators of mechanical issues.
Monthly Tasks
Monthly maintenance involves testing safety devices and inspecting the arm mechanism. Allow 20-30 minutes per gate.
Safety Device Testing
This is the single most important maintenance task. UL 325 compliance depends on functional safety devices.
Test procedure for each device:
| Device | Test Method | Pass Criteria | Action if Failed |
|---|---|---|---|
| Inductive loop detector | Drive a vehicle onto the loop while the arm is closing | Arm stops and reopens | Check loop wire, detector sensitivity, connection |
| Photo eyes | Break the beam with an object while the arm is closing | Arm stops and reopens | Clean lenses, check alignment, verify wiring |
| Safety edge (on arm) | Apply light pressure to the arm edge while closing | Arm stops and reverses | Inspect edge strip, check transmitter battery |
| Obstruction sensing | Place a soft test object in the arm path | Arm stops within 2 seconds of contact | Adjust motor controller sensitivity |
| Manual release | Disengage the motor and manually raise/lower the arm | Arm moves freely by hand | Lubricate release mechanism, replace if seized |
Document every test. Record the date, tester name, device tested, result (pass/fail), and any corrective action taken. This log is your primary compliance evidence.
Arm Inspection
- Balance test: With the motor disengaged (manual release activated), the arm should stay roughly in any position it’s placed – not drop to the ground or fly up. An unbalanced arm strains the motor and drive mechanism.
- Arm attachment: Check the bolts or fasteners securing the arm to the drive shaft. Vibration loosens fasteners over thousands of cycles.
- Counterweight (if equipped): Verify the counterweight is secure and hasn’t shifted. A displaced counterweight changes arm balance.
- Breakaway feature (if equipped): Some arms have a designed breakaway point that allows the arm to detach if struck by a vehicle. Inspect the breakaway mechanism for damage or prior activation that wasn’t reset.
Quarterly Tasks
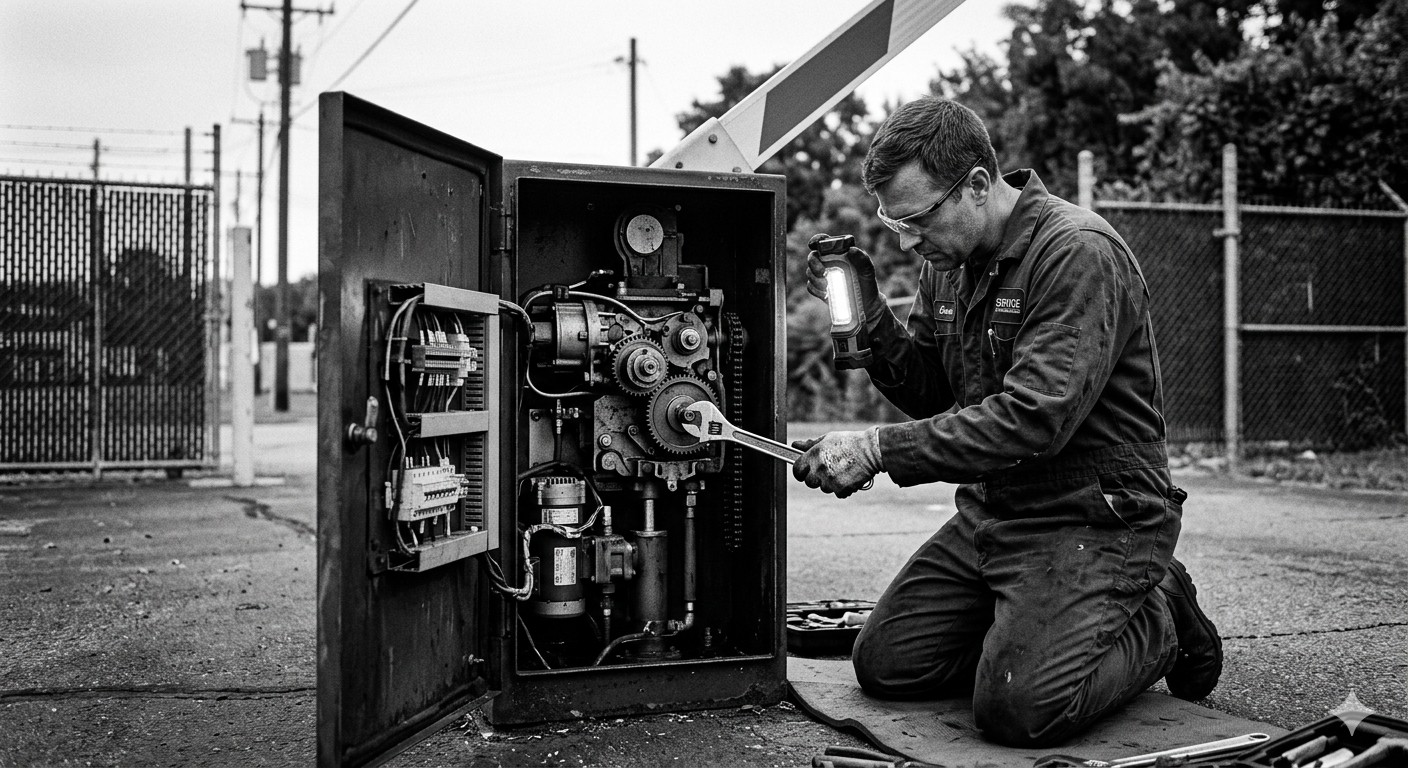
Quarterly maintenance addresses the mechanical and electrical systems that require more time and typically a trained technician.
Motor and Drive Mechanism
The specific tasks depend on the motor type. For a detailed comparison of motor technologies, see our guide to barrier gate motors and mechanisms.
DC brushed motors:
- Inspect carbon brushes for wear. Replace when worn to the manufacturer’s minimum length (typically 5-7 mm remaining).
- Clean brush dust from the motor housing using compressed air (not a vacuum, which can generate static).
- Check brush spring tension. Weak springs cause arcing and accelerated wear.
DC brushless (BLDC) motors:
- Inspect belt or chain tension and condition. Replace belts showing cracks, fraying, or glazing.
- Check motor mounting bolts for tightness.
- Verify that the motor controller’s diagnostic indicators (LED status, fault codes) show normal operation.
AC induction motors:
- Listen for bearing noise. A growling or high-pitched whine indicates bearing failure.
- Check gearbox oil level (if applicable). Top up with the manufacturer-specified lubricant only.
- Inspect coupling between motor and gearbox for wear or looseness.
Hydraulic systems:
- Check hydraulic fluid level and condition. Dark, cloudy, or foul-smelling fluid indicates contamination and requires a full fluid change.
- Inspect all hoses and fittings for leaks. Even minor weeping indicates seal degradation.
- Check hydraulic pump pressure against the manufacturer’s specification.
- Inspect the hydraulic cylinder rod for scoring, pitting, or seal leakage.
Electrical Connections
- Inspect terminal connections: Vibration and thermal cycling loosen terminal screws. Retorque all connections in the gate controller, motor junction box, and peripheral devices.
- Check wiring insulation: Look for chafed, cracked, or rodent-damaged insulation. Rodents are a frequent cause of barrier gate electrical failures.
- Surge protection: Verify that surge protectors (if installed) show a normal status indicator. Replace any with fault indicators.
- Ground connections: Confirm the gate housing and all metal components are properly grounded per the installation specification.
Housing and Weatherproofing
- Seal integrity: Inspect gaskets and seals around the housing cover, conduit entries, and arm pivot. Replace any that are cracked, compressed flat, or missing.
- Drain holes: Verify that weep holes or drain channels are clear. Blocked drains cause water accumulation inside the housing.
- Paint/finish condition: Touch up any bare metal exposed by scratches or chips to prevent corrosion. Pay particular attention to the arm pivot area and housing base.
- Conduit seals: Ensure conduit entries into the housing are sealed against water and pest intrusion.
Annual Tasks
The annual maintenance visit is a comprehensive overhaul that should be performed by a qualified barrier gate technician.
Full Mechanical Overhaul
- Bearing inspection and lubrication: Remove the arm and inspect the main pivot bearing. Lubricate or replace as specified by the manufacturer.
- Complete drive system inspection: Disassemble and inspect the gear train, belt system, or hydraulic actuator. Replace any components showing significant wear.
- Motor performance test: Measure motor current draw under load and compare to the manufacturer’s specification. Elevated current indicates mechanical resistance or motor degradation.
- Arm replacement assessment: Evaluate whether the arm has accumulated damage (UV degradation, stress cracks, impact marks) that warrants replacement.
Software and Firmware
- Controller firmware: Check for available firmware updates from the manufacturer. Apply updates per manufacturer instructions.
- Access control integration: Verify that communication between the barrier gate controller and the access control system is functioning correctly. Test all credential types.
- Configuration backup: Back up all controller settings, timing parameters, and configuration data.
Foundation and Mounting
- Foundation condition: Inspect the concrete pad for cracks, settling, or heaving. Minor cracks can be sealed, but significant settling may require foundation replacement.
- Mounting bolt torque: Verify that all anchor bolts securing the gate housing to the foundation meet torque specifications.
- Bollard condition: Inspect protective bollards for impact damage, loose mounting, and corrosion at the base.
Compliance Review
- Safety device calibration: Beyond monthly testing, the annual visit should include recalibration of all safety devices to manufacturer specifications.
- UL 325 compliance review: Walk through the complete UL 325 checklist to verify that no safety devices have been bypassed, removed, or rendered non-functional.
- Documentation audit: Review the maintenance log for completeness. Confirm that monthly safety device tests have been performed and documented.
Common Repairs
Even with diligent maintenance, some repairs are inevitable over a barrier gate’s lifespan. The following are the most frequent repair needs:
Arm Replacement
Symptoms: Visible cracks, excessive sag, broken breakaway section, UV degradation (faded, brittle).
Procedure: Disconnect the arm from the drive shaft, remove mounting hardware, install the replacement arm, verify balance and alignment, and test safety device interaction with the new arm.
Frequency: Every 5-8 years in full-sun environments, longer with UV-protected arms.
Motor or Gearbox Replacement
Symptoms: Excessive noise, slow operation, intermittent failure to open or close fully, elevated current draw, visible gear teeth damage.
Procedure: Disconnect power (follow lockout/tagout per OSHA 29 CFR 1910.147), remove the motor or gearbox assembly, install the replacement, recalibrate arm travel limits and speed settings.
Frequency: Motor replacement at 8-15 years depending on duty cycle and motor type. Gearbox replacement is less common if lubrication is maintained.
Loop Detector Replacement
Symptoms: Gate fails to detect vehicles, intermittent detection, phantom triggers (gate opening with no vehicle present).
Procedure: If the loop wire is damaged, the affected pavement section must be saw-cut and the loop rewired. If only the detector card has failed, it can be replaced in the controller housing without pavement work.
Frequency: Loop wire lasts 10-15 years in stable pavement. Detector cards last 7-10 years.
Control Board Replacement
Symptoms: Erratic behavior, failure to respond to commands, inability to program, burned components visible on the board.
Procedure: Document all DIP switch and configuration settings before removing the old board. Install the replacement board, restore configuration settings, and test all functions including safety devices.
Frequency: 7-12 years. Power surges from lightning are the leading cause of premature control board failure, which is why surge protection is important.
Hydraulic Seal Replacement
Symptoms: Visible fluid leaks at the cylinder rod, slow arm movement, pump running continuously.
Procedure: Depressurize the system, disassemble the cylinder, replace rod and piston seals, reassemble, refill fluid, and bleed air from the system.
Frequency: Every 3-5 years depending on operating environment and fluid maintenance. The NFPA 79 (Electrical Standard for Industrial Machinery) provides guidance on hydraulic system safety during maintenance.
Maintenance Cost Planning
Budget for maintenance as a percentage of equipment cost:
| Cost Category | Annual Budget (% of equipment cost) | Notes |
|---|---|---|
| Preventive maintenance labor | 5-8% | Monthly and quarterly visits |
| Consumables and parts | 3-5% | Lubricants, belts, brushes, seals |
| Safety device testing | 2-3% | Monthly testing labor and documentation |
| Annual overhaul | 5-10% | Comprehensive inspection and service |
| Emergency repair reserve | 5-10% | Unexpected failures |
| Total annual maintenance | 20-36% | Of original equipment cost per year |
For a $10,000 barrier gate, expect to budget $2,000-$3,600 annually for comprehensive maintenance. This investment protects the remaining useful life of the equipment and avoids costly emergency repairs and downtime.
Service Contract vs. In-House Maintenance
Facilities must decide whether to perform maintenance in-house or contract with a service provider.
In-house maintenance works when:
- The facility has trained maintenance staff with barrier gate experience
- Multiple gates justify the investment in training and parts inventory
- Response time for emergency repairs is critical (no waiting for a service call)
Service contracts work when:
- Fewer than 3-5 gates make in-house specialization impractical
- The facility lacks staff with electromechanical maintenance skills
- The manufacturer or dealer offers comprehensive service packages
- Warranty terms require manufacturer-authorized service
Most manufacturers of barrier gate systems offer service contract options ranging from basic annual inspections to full-coverage programs that include parts and emergency response.
Regardless of who performs the work, the facility operator retains responsibility for compliance. A service contract does not transfer liability for safety device testing and documentation.
Troubleshooting Quick Reference
Before calling for service, check these common issues:
| Symptom | Likely Cause | Quick Check |
|---|---|---|
| Gate won’t open | No power, tripped breaker, manual release engaged | Check breaker, verify manual release is disengaged |
| Gate opens but won’t close | Vehicle on loop, photo eye misaligned, safety device activated | Check for vehicles in detection zone, clean photo eyes |
| Gate opens/closes slowly | Low hydraulic fluid, worn belt, motor degradation | Check fluid level, inspect belt tension |
| Gate makes grinding noise | Worn gears, dry bearings, debris in mechanism | Lubricate, inspect for foreign objects |
| Gate arm bounces at end of travel | Speed settings too fast, shock absorber worn | Adjust deceleration settings, inspect end stops |
| Gate cycles randomly | Loop detector interference, faulty controller, wiring issue | Check for metal near loop, inspect wiring for damage |
| Remote/reader doesn’t trigger gate | Communication fault, reader failure, controller input issue | Verify wiring to controller, test reader independently |
For complex issues beyond this quick reference, see our troubleshooting barrier gate problems guide for detailed diagnostic procedures.
Building a Maintenance Program
To establish a maintenance program from scratch:
- Inventory all gates. Record manufacturer, model, serial number, motor type, installation date, and all safety devices for each gate.
- Obtain manufacturer maintenance manuals. Every gate model has specific maintenance requirements. Follow the manufacturer’s schedule as the baseline and supplement with the general guidance in this article.
- Create a maintenance calendar. Schedule weekly, monthly, quarterly, and annual tasks with specific due dates and assigned personnel.
- Establish documentation. Create maintenance logs (paper or digital) that capture every inspection, test, and repair with dates, personnel, findings, and actions.
- Train personnel. Ensure everyone performing maintenance understands the procedures, safety requirements, and documentation expectations.
- Budget annually. Allocate maintenance funds based on the cost planning table above and adjust based on actual experience.
Key Takeaways
- Preventive maintenance is not optional for barrier gates operating at commercial duty cycles. The cost of maintenance is a fraction of the cost of emergency repair and downtime.
- Safety device testing is the most critical maintenance task. Monthly testing with documented results is required for UL 325 compliance and liability protection.
- Different motor types require different maintenance approaches. Match your maintenance procedures to the specific technology installed in your gates.
- Budget 20-36% of equipment cost annually for comprehensive maintenance. This protects the investment and extends equipment life from 7 years (neglected) to 15-20 years (maintained).
- Documentation is not paperwork for its own sake. Maintenance logs are your primary evidence of compliance in the event of an incident or audit.
- Whether you maintain in-house or contract with a service provider, the facility operator retains responsibility for safety compliance. Verify that the work is being done correctly and documented properly.